We used a software called Inventor, using this software we created multiple 3D images that we called Widgets.
After we created six of these widgets in Inventor we picked one to be printed off in the 3D printer.
After we created six of these widgets in Inventor we picked one to be printed off in the 3D printer.
Inventor has many uses but we used it as a software to create 2D and 3D objects
and objects with multiple moving or stationary parts.
It also can be used in industrial areas, such as creating a machine and know exactly
how its going to run before they even assemble the parts and what flaws the machine
could have. Automotive companies can also us this to fully design cars and see how
they would run.
|
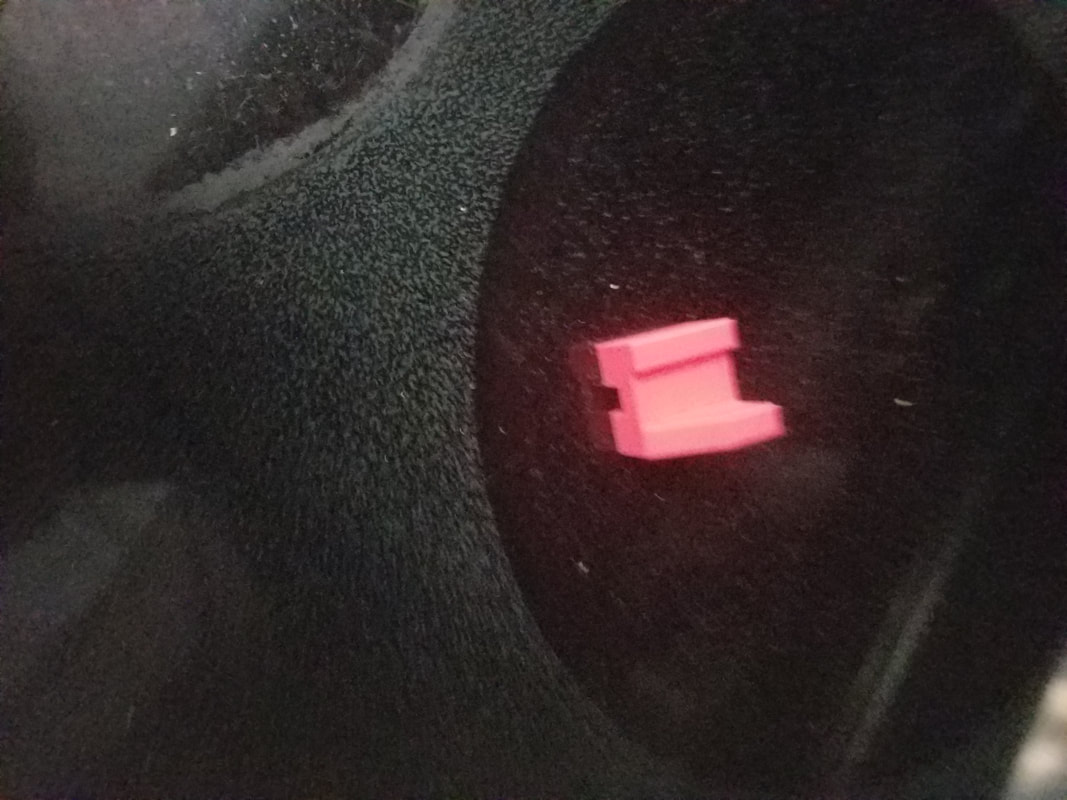
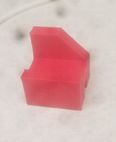
The Widget to the right was created in Inventor by me.
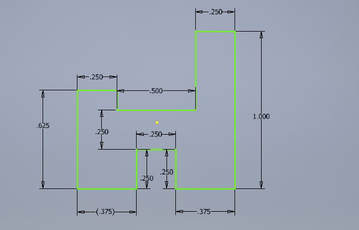
To create this widget I first made a rough outline of the object. After creating the outline I filled in all the dimensions to create the 2D image of the widget. Next took the 2D image and made it 3D by Extruding the object. Extruding an object is basically taking the object and adding material to it to turn it from 2D to 3D. When it was in 3D form the one inch side had and angle on it starting at halfway and going up to the top. To make the angle it was simply clicking on the right face of the object creating the 45% triangle angle going up and Extruding it again creating the back angle on the widget. 3D ProjectFor my 3D printer project I printed off something that would
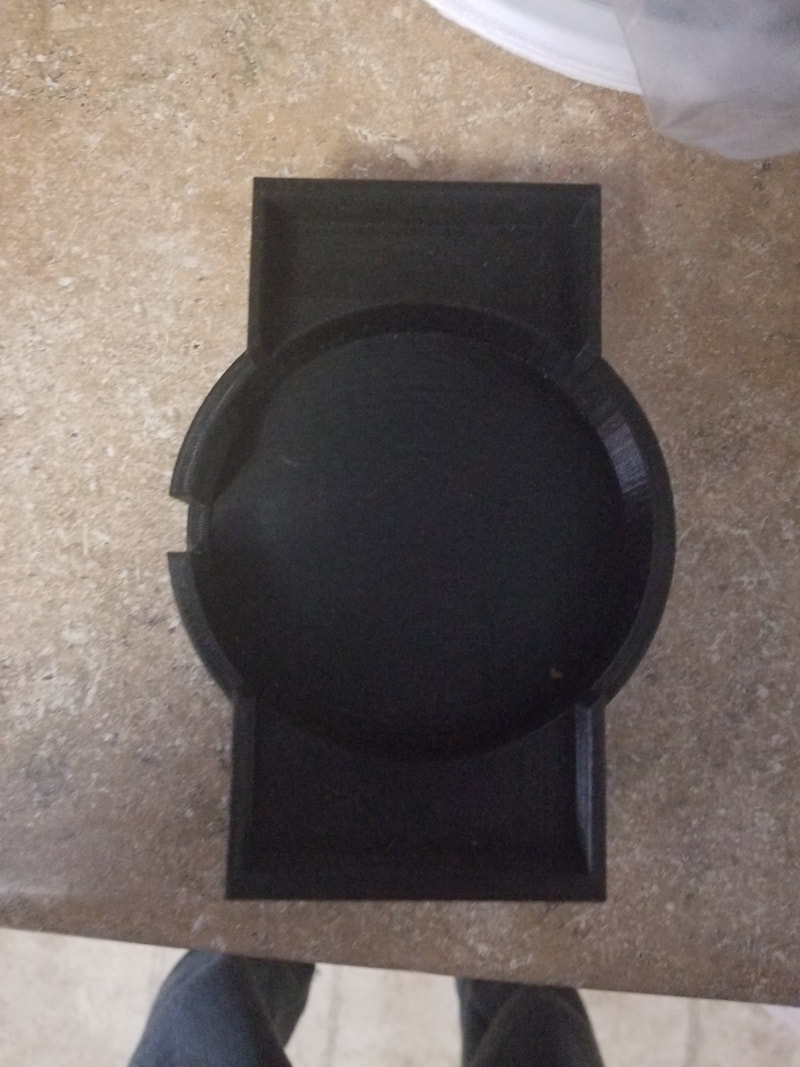
hold a wireless phone charger and have a phone sit on top of it so it would be easier to use and your phone wouldn't slide around while using it. to make this I first made he base for the phone after that I drew a circle around it for the phone charger and extruded then both so the phone and charger would fit in snug. finally I added edges and a hoe in the side for a charger cord could fit in. |
|